
How To Install Waterproofing Membrane in Shower?
The wettest spot in your home is the shower. It is continually in contact with moisture, 24 hours a day, 7 days a week. The penetrating strength of shower water is significantly stronger than that of natural rain when oils, gels, soaps, and other surfactants are added.
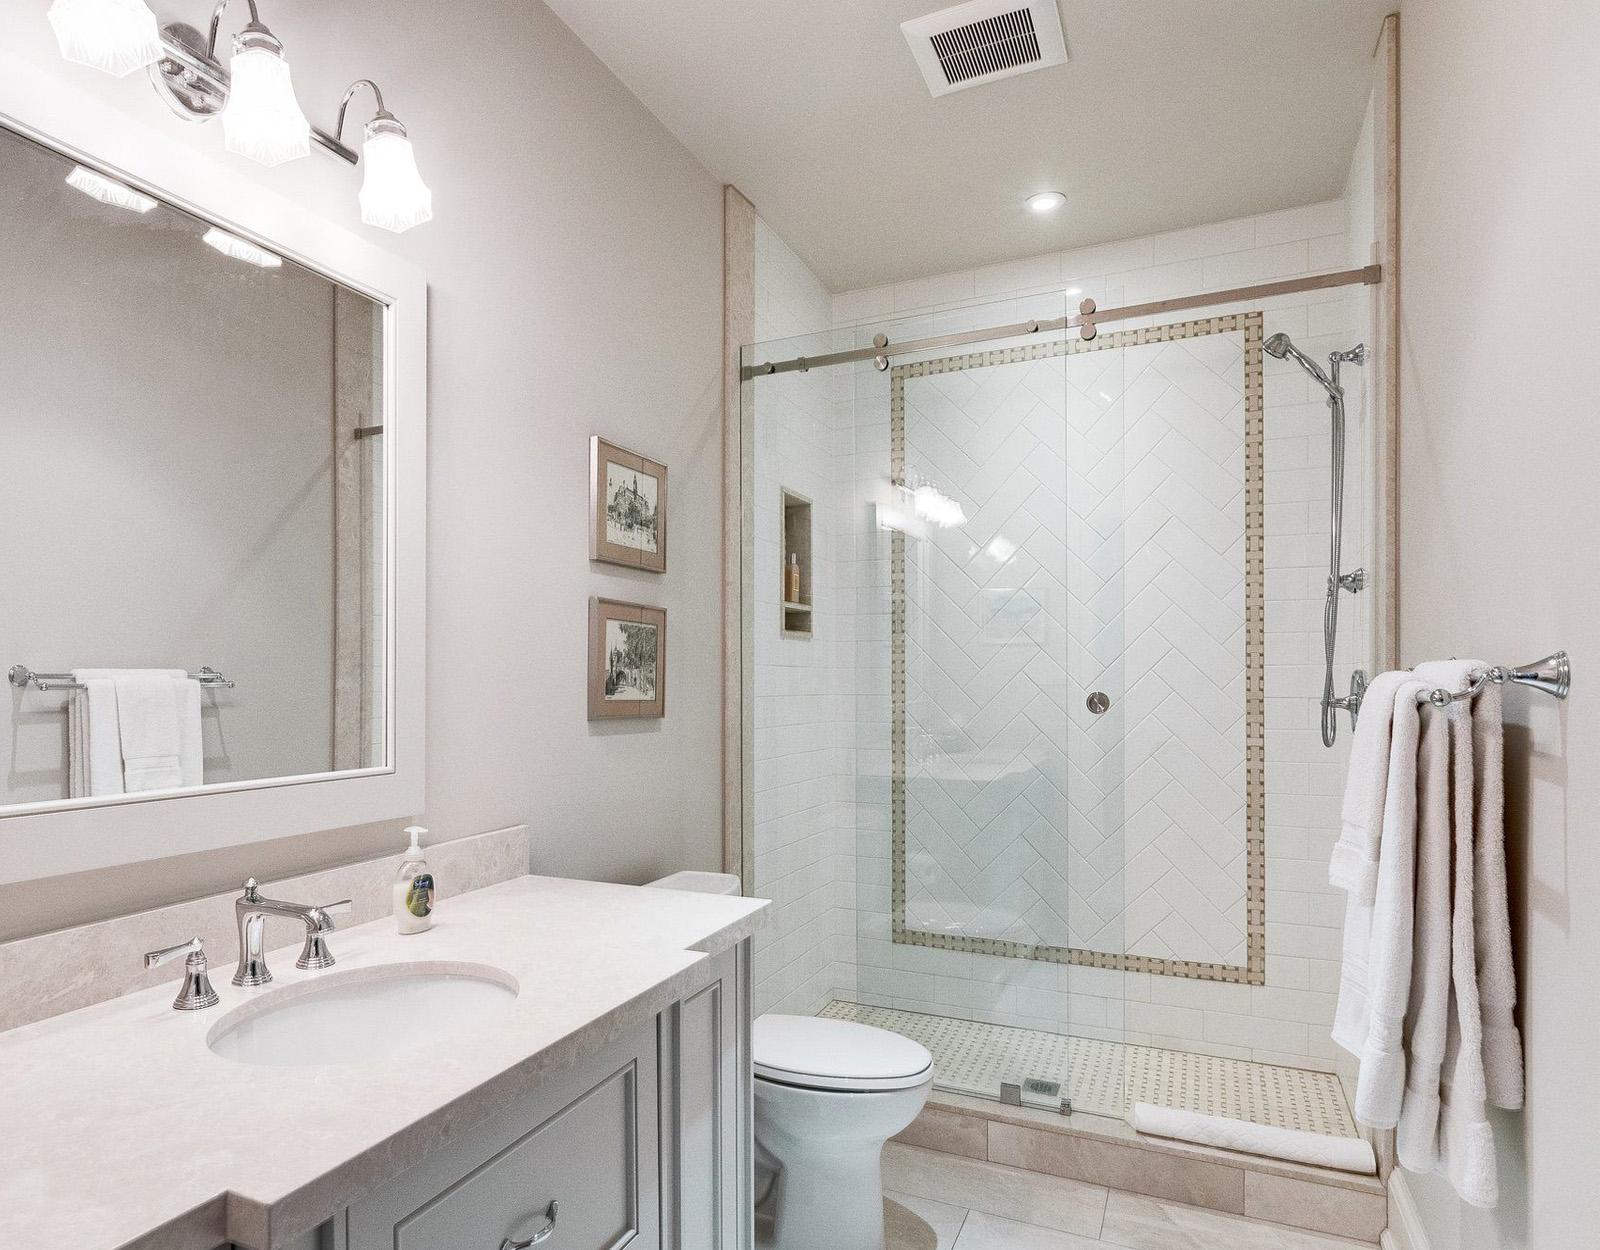
The typical yearly exposure of a shower to moisture is equivalent to 2500 inches of rainfall. To prevent all of that moisture from harming your shower, you should preferably waterproof it.
The waterproofing shower floor is probably something you’ve pondered about whether you’ve recently finished remodeling your shower or are going to do so. We will provide you with in-depth information on the shower membrane waterproofing method in this post. You find the best information on this post against the search term “shower wall waterproofing membrane”.
Why Utilise a Waterproofing Solution for Shower Waterproofing Membrane?
Many people believe that the shower’s floor tiles are completely watertight. The grout in between the ceramic and porcelain tiles in your shower is not water resistant, even though they cover the floor and the walls. Simply said, cement is fine sand that has been “glued” together using concrete and a variety of other adhesives.
Waterproofing tile floors are very well held in place by grout. However, it also readily absorbs water through the tiny capillary holes present throughout the mixture. Those tiny stonework lines will gradually absorb water and cause water damage to whatever is underneath your shower if there isn’t some sort of waterproof membrane layer behind the layer of cement.
Therefore, plywood, drywall, as well as 2×4 wall or floor studs, are susceptible to wear and mold and mildew growth over time.
Which Shower Waterproofing Type Is Best?
The ideal waterproofing material for your shower may vary depending on several variables. In general, homeowners may waterproof their shower simply, quickly, and affordably by using liquid waterproof membranes. Foam backer board or sheet membrane are likely your best options if you’re searching for a more durable and long-lasting solution. These more resilient backer membranes are only somewhat more costly when building new showers. To double the waterproofing effect, mix them with liquid membranes.
Steps To Install Shower Waterproofing Membrane
When it comes to shower assembly, if the shower cannot be used without leaking before the tile or solid surface finish is installed, it isn’t ready for such installations. Without any tile installed, a shower system with a well-fitted waterproof membrane can be used. Even if it wouldn’t be attractive, it would still work.
Prepare for the Project – Bathroom Waterproofing Membrane
Before beginning waterproofing, a shower floor, obtain all essential permissions from your neighborhood building inspector. For any plumbing repair, a permit may be needed in some localities. Consider the license as just an insurance plan that guards a homeowner against contractor work that is not up to code. When a local construction inspector accepts the work, the project’s installation of the shower floor may begin.
Examine The Shower Area & Bathroom Waterproofing Membrane
You need to assess your shower area and get it ready for repairs before any work can be done. This involves collecting measures and figuring out whether there are any bathroom leaks already present. Before installing the membrane, the shower area must also be checked for any sharp items or nails that need to be removed.
Level The Walls and Floor
The walls and shower area should be covered with a thin coating of mortar. Use a waterproof surface made especially for showers. To prevent water from settling, slant the substrate you are adding to the base downward toward the drainpipe.
To The Shower Area, Apply the Membrane
Try to measure the shower’s circumference if you can. The membrane may now be rolled out once the region has been determined. Typically, membranes are demarcated with lines spaced six inches apart. Instead of being exact dimensions, these might be utilized as suggestions. In light of your calculations, you must therefore use scissors or a utility knife to cut the membrane.
The use of a prefabricated shower base is advised by the manufacturers. Simply try to perforate the edges using a single-cut pattern if you can’t locate one. Eventually, leftovers will collide around the corners. Therefore, you must attach the membrane to the shower base and make a strong effort to press it into the corners.
After that, you must make a hole along the drain. The membrane must be removed so that adhesives may be applied. For it to adhere firmly to the flooring, it should be installed in the shower area. Simply take careful care of the corners and the drain while performing a waterproofing membrane installation.
Apply Membrane to Cover the Walls
You must sew the membrane sheets together if the area that needs waterproofing is wider than the membrane sheet’s width. Leave about three inches of overlap between each layer. Use a hand roller while flattening with a hot air pistol. Seaming is more effective when heated. To secure the upper edge, use nails. Use copper nails and make any necessary recesses.
Test Your Waterproofing System for Shower Wall Waterproofing Membrane
A quick test is performed after the waterproofing shower floor membrane has been laid. While the shower floor is submerged in water to a specifically defined height, the drain is stopped. The water is then let to stay for a whole day. If it has, this suggests that your floor is experiencing a water leak. In that instance, the water is removed and then the test is repeated after another layer of the waterproof membrane has been applied.
The shower pan and shower wall waterproofing membrane are installed, and the shower is let to dry overnight if the membrane performs as anticipated. The membrane is then completely covered with tiles after applying a sealant to the edge during a waterproofing membrane installation.