
How to Install Crawl Space Vapor Barrier?
A crawl space vapor barrier is a layer of plastic sheeting that is placed on the ground in a crawl space to prevent water vapor from rising into the home. It is typically made of high-density polyethylene (HDPE) or other waterproof materials.
The vapor barrier helps to keep the crawl space dry, which can prevent mold and mildew growth, wood rot, and other moisture-related issues. It also helps to keep the air in the crawl space separate from the air in the living space, which can improve indoor air quality. It is important to note that a vapor barrier works best when combined with other moisture control measures, such as proper ventilation and drainage systems.
Installing a crawl space vapor barrier is an important step in protecting your home from moisture and mold. A vapor barrier, made of plastic sheeting, is placed on the ground in your crawl space to prevent water vapor from rising into your home. Here’s a step-by-step guide on how to properly install a crawl space vapor barrier:
- Measure the area of your crawl space vapor barrier. Before purchasing your vapor barrier, it’s important to know how much you will need to cover the entire floor of your crawl space.
- Clear the crawl space. Make sure the floor of your crawl space is free of debris and debris to ensure proper installation of the vapor barrier.
- Install a layer of crushed stone or gravel. This will provide a durable base for the vapor barrier and will help with drainage.
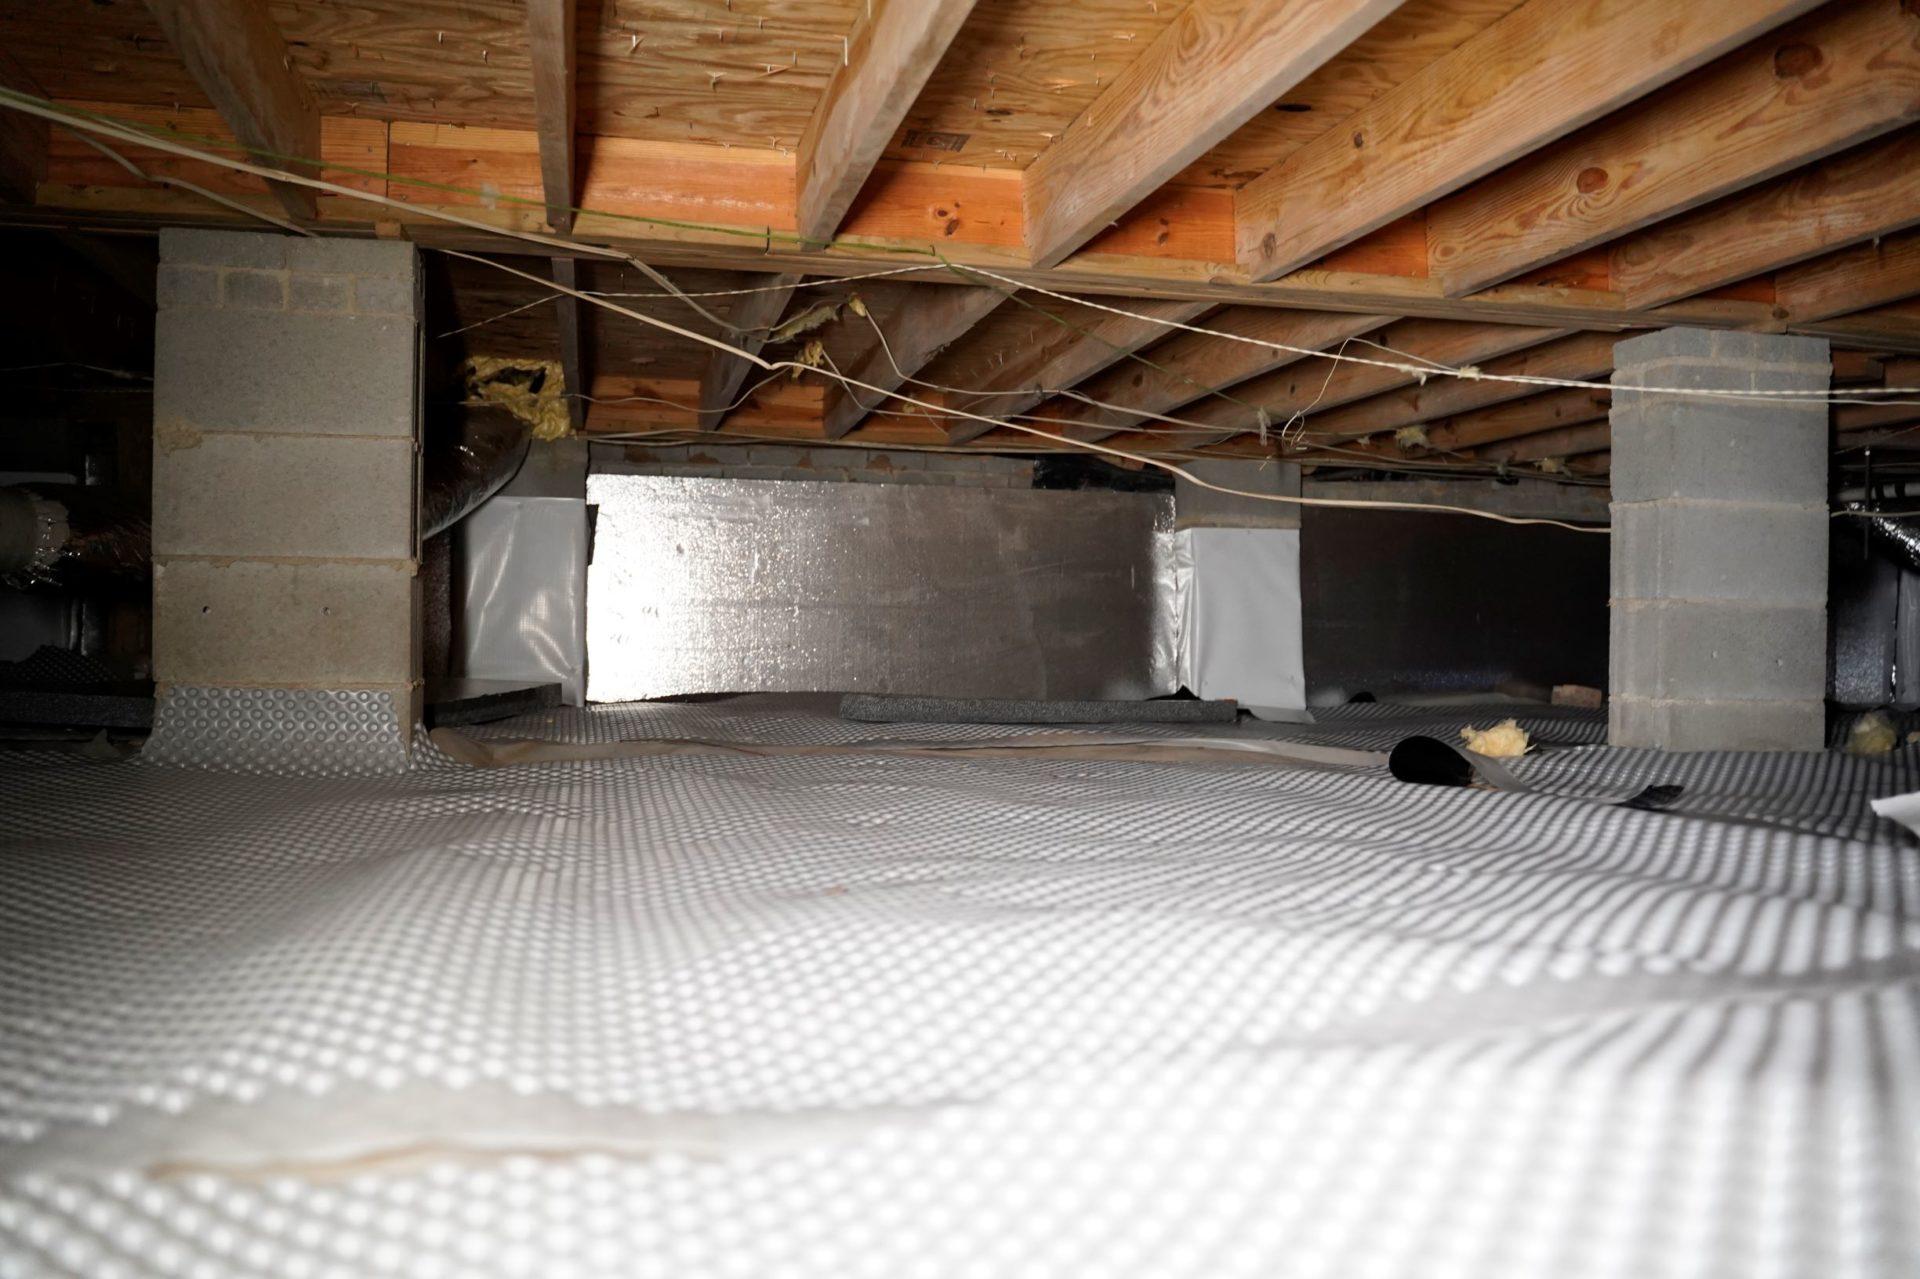
- Place the vapor barrier on top of the crushed stone or gravel. Unroll the vapor barrier and make sure it is smooth and wrinkle-free.
- Overlap the edges of the vapor barrier by 6 inches. This will ensure proper coverage and no gaps in the barrier.
- Secure the vapor barrier. Use a staple gun to secure the vapor barrier to the crawl space walls. Make sure the staples are placed every 2-3 feet to ensure the barrier stays in place.
- Seal all seams and penetrations. Use plastic tape to seal all seams and penetrations in the vapor barrier to ensure a tight seal.
- Inspect the installation. Once the vapor barrier is installed, inspect the entire area to make sure there are no gaps or wrinkles in the barrier.
By following these steps, you can ensure that your crawl space is properly protected from moisture and mold with a vapor barrier. Remember to regularly check the vapor barrier for any damages or leaks and repair them promptly.
Conclusion:
In conclusion, installing a crawl space vapor barrier is an essential step in protecting your home from moisture and mold. A vapor barrier, made of plastic sheeting, is placed on the ground in your crawl space to prevent water vapor from rising into your home.
By following the step-by-step guide provided in this article, you can ensure the proper installation of the vapor barrier and the protection of your crawl space. Remember to measure the area, clear the crawl space, install a layer of crushed stone or gravel, place the vapor barrier, secure the vapor barrier, seal all seams and penetrations, and inspect the installation of a crawl space vapor barrier.
Regularly inspecting the vapor barrier for any damages or leaks and repairing them promptly, you can ensure that your crawl space is properly protected from moisture and mold. This will help to keep your home healthy and safe for you and your family to live in.